
Step 1. Prepare Your Main Photo
Make sure your image you choose is focused on the person or item you are using in your double exposure, with very minimal noise or elements such as foliage or overlapping elements on the main subject. I found this image on Pexels.com, but you can use any image of your choice.
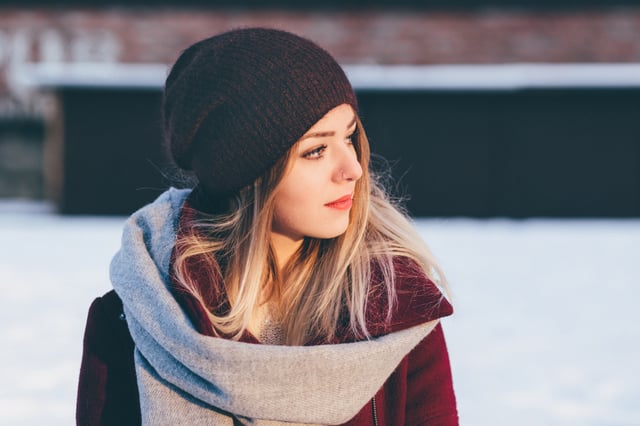
Lets Crop (C) the image to eliminate any additional space that will be clipped out. 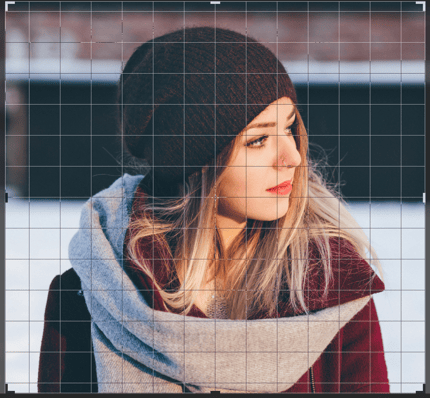
Step 2. Adjust Your Brightness/Contrast
Go to Image > Adjustments > Levels or Press Command - L (on a Mac) to pull up the Levels menu. Move the lightest slider on the Input levels to the left to adjust your whites to add brightness to your image, and move the far left slider to the right to adjust your black shades.

Step 3. Clipping
Now it's time to get rid of the background, if you choose an image with a solid color background - this will be an easy task for you since you can just use the Magic Wand Tool to eliminate the background, but since we're using an image with additional background colors, we'll need to use the Pen tool to clip it out. Once you have the image selected, mask it out!
When you're done removing your background, your image should look something like this:
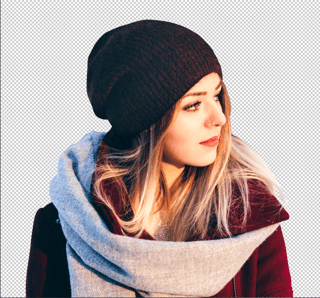
If you need to use the Refine Edge tool to adjust any edges or separate hairs, do so now!
Step 4. Before You Combine Images
Create a New Layer below the cut-out portrait and fill it with neutral greyish color (#dcdbd9) using the Paint Bucket Tool (G).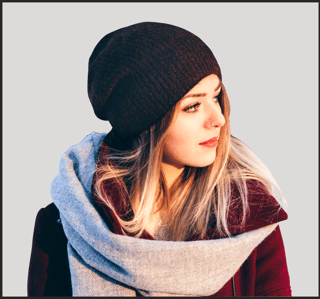
Step 5. Creating the Double Exposure Effect
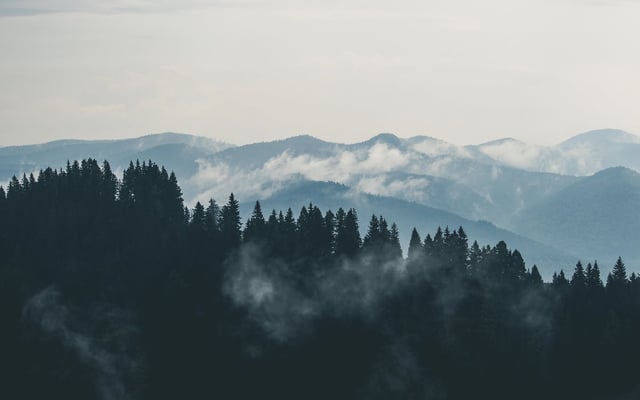
1. You can choose any image you want, whether its a cityscape, another person, the ocean etc. For this example, we'll use this image of a forest and mountain range.
2. Place the image on top of the Portrait. Keeping the landscape layer selected, press Command and the layer mask of the portrait on the layer below. You will see the "marching ants" appear on your landscape layer.
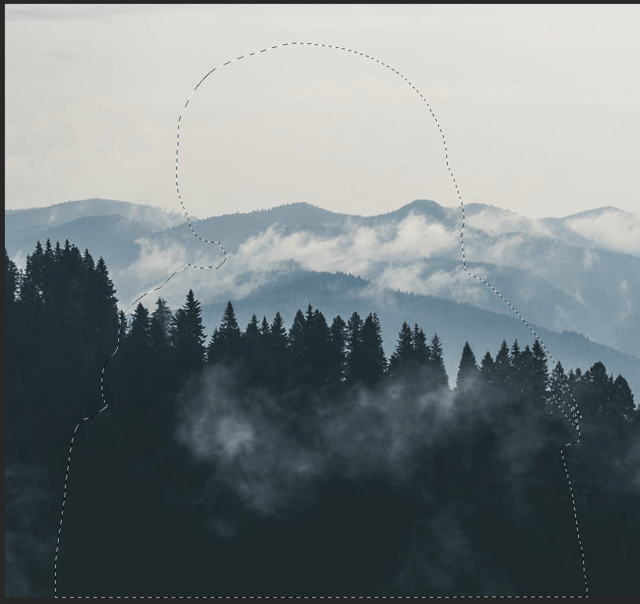
3. Next, you want to add a mask to this layer, to do so simply click on the layer mask button below your layers while the top layer is selected. Your result should look like this:
You can then adjust your landscape image to fill in the silhouette wherever you'd like by deselecting the chain icon inbetween the image and the layer mask, and then using the selection tool to drag the image around.
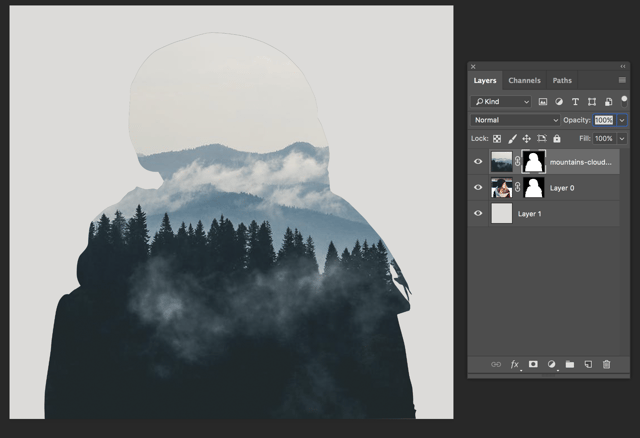
4. Select the layer that has the clipped out portrait and mask, make a copy (Command-J) and move it above the landscape layer.
You can then make adjustments to match the image with the landscape. For example, lets make this portrait a little more desaturated to match the gloomy feel of the mountains. So we'll convert the image to grayscale. You can do this by using the Desaturate adjustment, or by pressing Shift-Command-U to convert to grayscale.

5. Use your Levels menu again to adjust the shadows and brightness of the image. As well as Hue/Saturation to adjust the saturation even further. 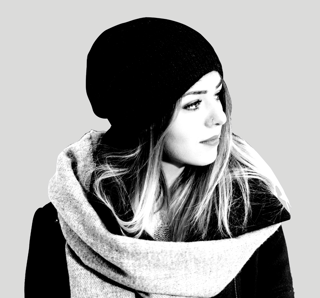
6.Right-click on the portrait layer mask to Apply Layer Mask in the dropdown menu. Then change the Blending Mode of the portrait layer to Screen in the Layers panel. And Voila! You've created a double exposure image! 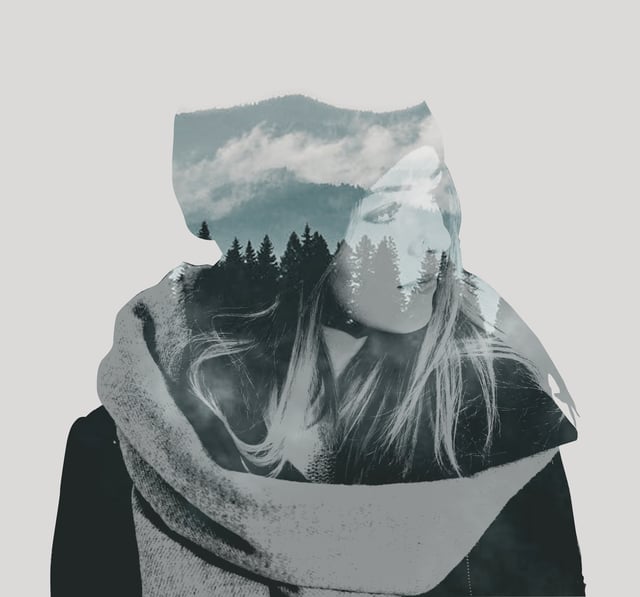
Tags: Web Design

The Latest Social Media Updates Happening in 2024: A Guide for Businesses

Unveiling Effective Competitive Marketing Strategies for Success

Mastering Digital Marketing Competitor Analysis: A Step-by-Step Guide

Creating a Winning Competitive Analysis Matrix: A Comprehensive Guide

How to Find a Company’s Competitors: Benchmarking Your Way to the Top in 2024

2000 Palm Beach Lakes Blvd
Suite 601
West Palm Beach, FL 33409
P: 561.832.6262
F: 561.832.7707


